Creating Masking Jobs
This section describes how users can create a masking job.
Creating New Jobs
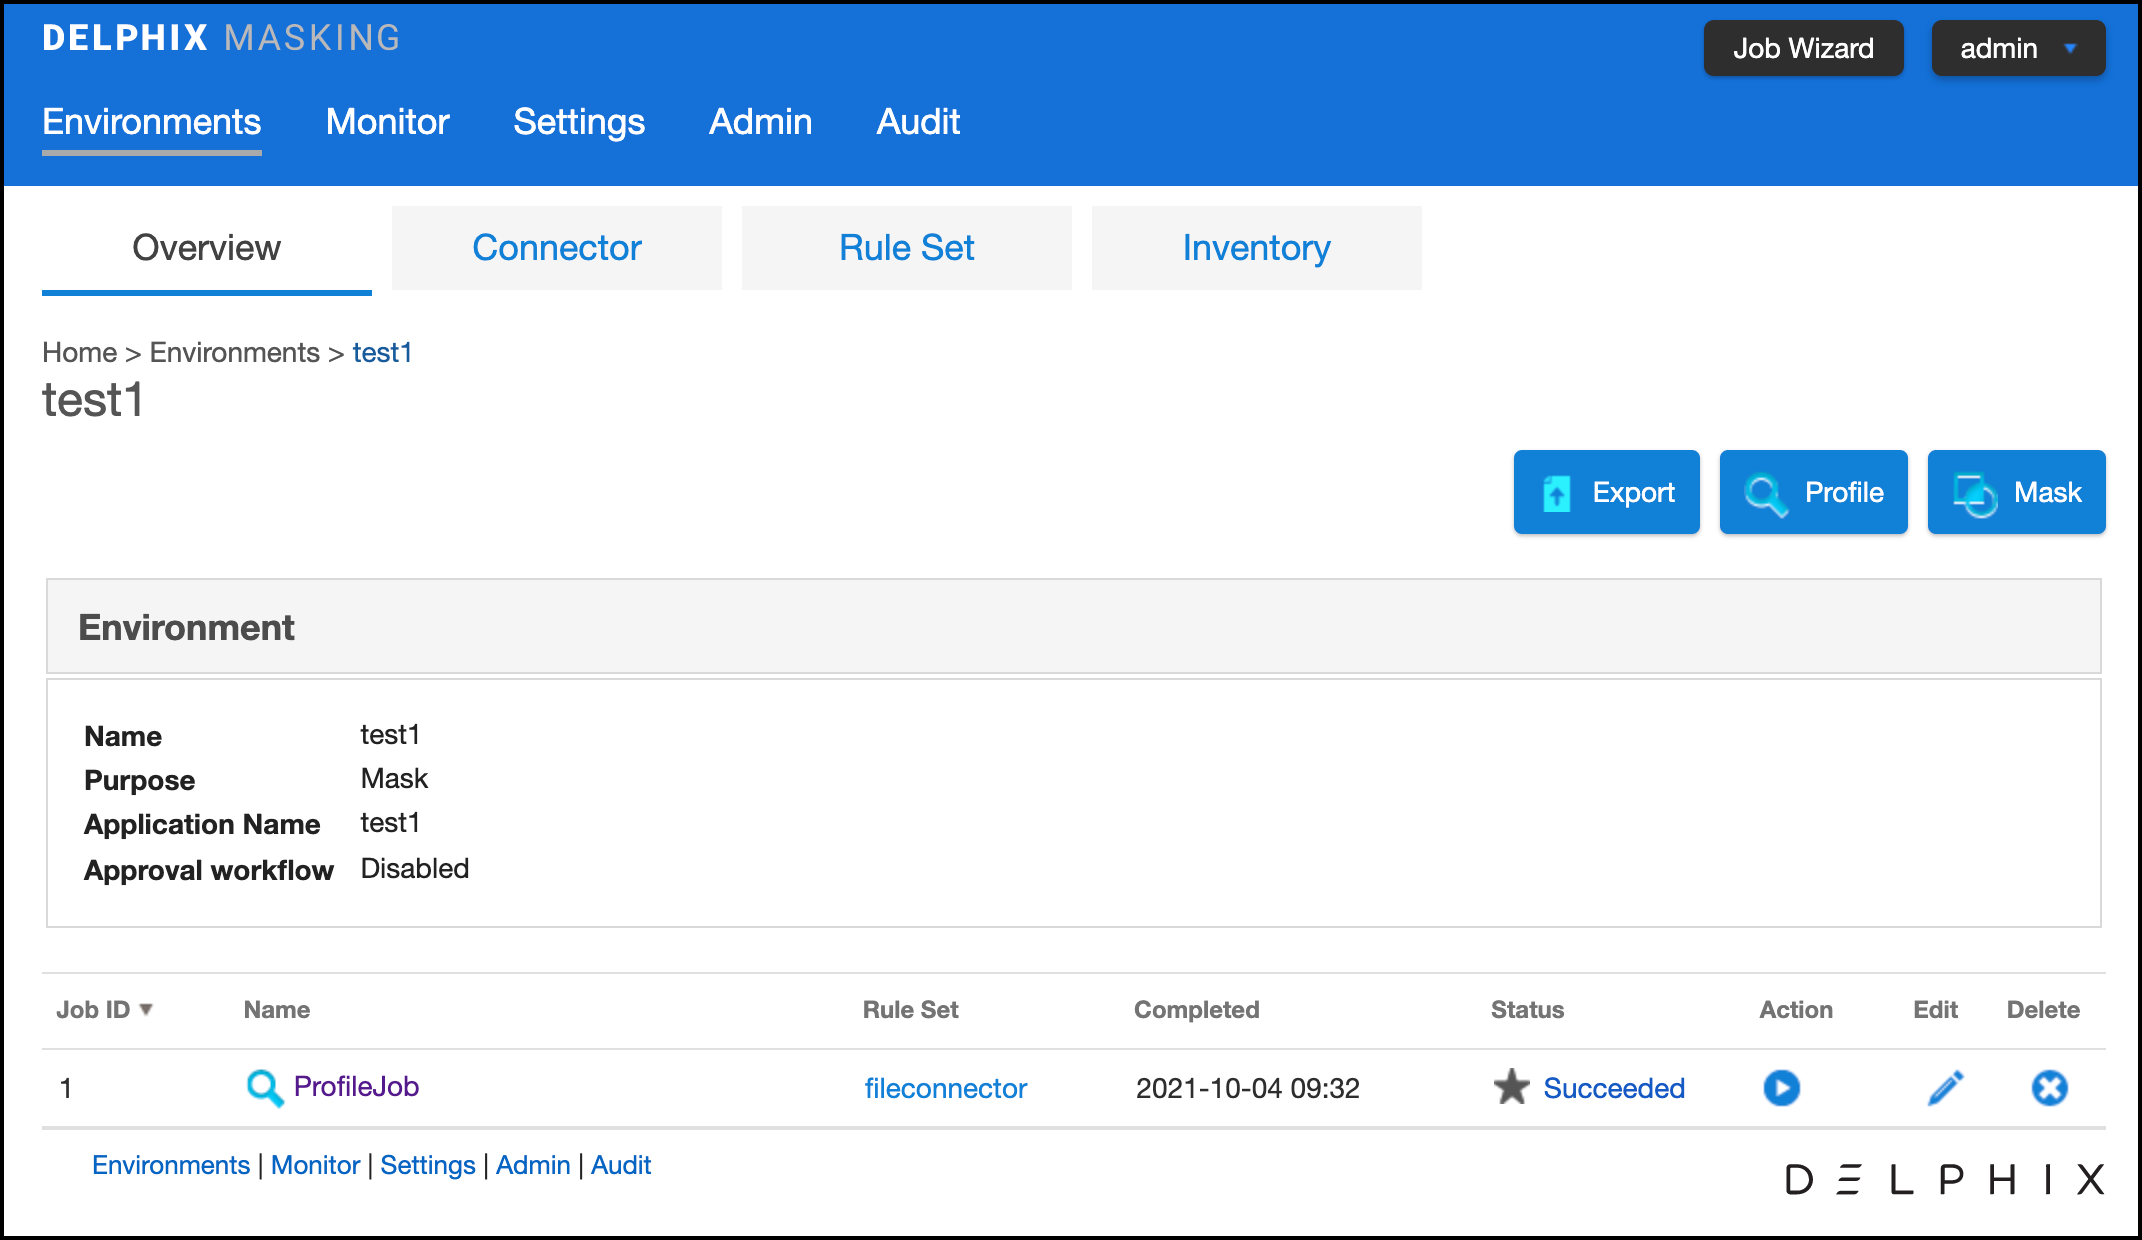
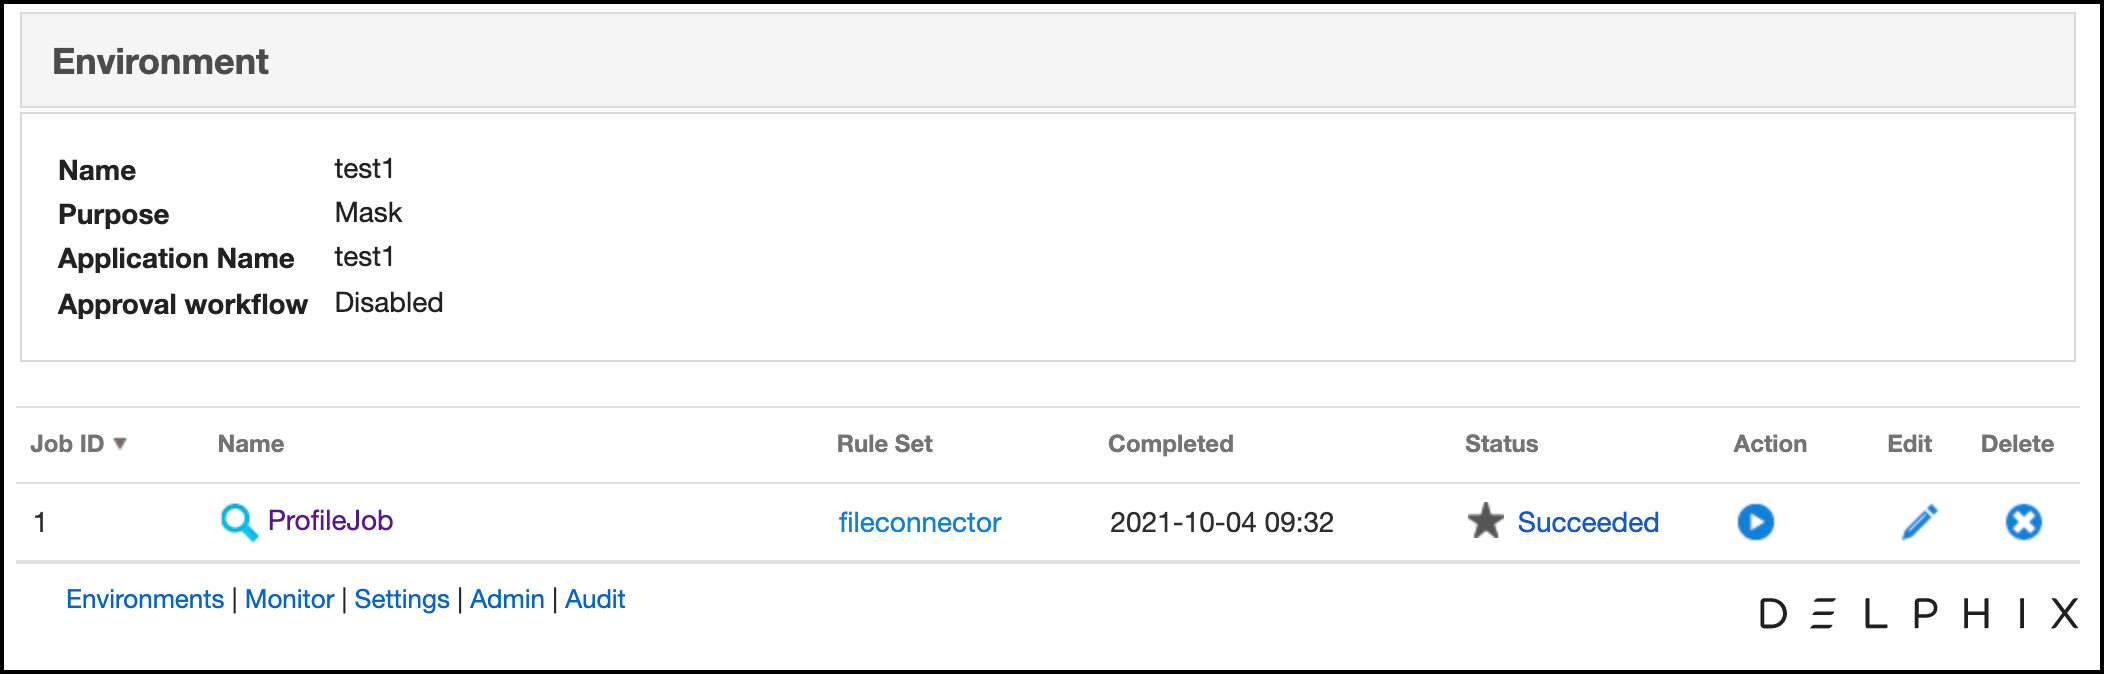
In the Environment Overview screen, select one of the jobs icons to create the corresponding job:
-
Profile
-
Mask
Creating a New Masking Job
To create a new masking job:
-
Click Mask. The Create Masking Job window appears.

-
You will be prompted for the following information:
-
Job Name — A free-form name for the job you are creating. Must be unique across the entire application.
-
Masking Method — Select either In-Place or On-The-Fly. In-Place jobs update the source environment with the masked values. On-The-Fly jobs read unmasked data from the source environment and writes the masked data to the target environment.
INFO: On-The-Fly Masking Jobs.
Only certain combinations of connector types are supported. On-The-Fly jobs where the source and target connectors are of the same type (e.g. Oracle to Oracle, delimited file to delimited file), and jobs with a database source (e.g. Oracle, MS SQL) and the target is delimited files are supported.
The target tables or files must be created in advance and the names must match the names of the source tables or files. In the case of a database to delimited file job, the file names should match the table names.
-
Multi Tenant — Checkbox if the job is for a multi-tenant database.
INFO: Provisioning Masked VDBs.
A job must be Multi-Tenant to use it when creating a masked virtual database (VDB). This option allows existing rulesets to be reused to mask identical schemas via different connectors. The connector can be selected at job execution time.
-
Rule Set — Select a rule set that this job will execute against.
-
Source Environment (only for On-The-Fly Masking Method) - Select the Source Environment that this job will get the data from.
-
Source Connector (only for On-The-Fly Masking Method) - Select the Source Connector that provides the connection to the the chosen Source Environment.
-
Streams: Number—The number of parallel streams to use when running the job. For example, you can select two streams to mask two tables in the Rule Set concurrently in the job instead of one table at a time.
INFO: Choosing the Number of Streams
Jobs - even with a single stream - will have separate execution threads for input, masking, and output logic. While it is not necessary to increase the number of streams to engage multiple CPU cores in a job, doing so may increase overall job performance dramatically, depending on a number of factors. These factors include the performance characteristics of the data source and target, the number of processor cores available to the Delphix Masking Engine, and the number and types of masking algorithms applied in the Rule Set. The memory requirements for a job increase proportionately with the number of streams.
-
Streams: Row Limit—The number of data rows that may be in process simultaneously for each masking stream. For file jobs, this controls the number of delimited or fixed-width lines, mainframe records, or XML elements in process at one time. Setting this value to 0 allows unlimited rows into each stream, while leaving it blank will select a default limit based on job type.
INFO: Choosing the Row Limit
The default Row Limit values have been selected to allow typical jobs to run successfully with the default job memory and streams number settings. This assumes a maximum row or record size of approximately 2000 bytes with 100 masked columns. If masked row or record size, or column count, exceed these values, it may be necessary to either allocate more memory to the job by increasing Max Memory, or reduce the Row Limit to a smaller value. Conversely, if the masked rows are quite small and have few masking assignments, increasing the Row Limit may improve job performance. Remember to consider the worst case (the largest rows, the most masking assignments) table or file format in the Rule Set when making this determination.
-
Min Memory (MB) — Minimum amount of memory to allocate for the job, in megabytes.
-
Max Memory (MB) — Maximum amount of memory to allocate for the job, in megabytes.
Info
It is recommended that the Min/Max Memory should be set to at least to 1024.
-
Update Threads — The number of update threads to run in parallel to update the target database.
Warning
Multiple threads should not be used if the masking job contains any table without an index. Multi-threaded masking jobs can lead to deadlocks on the database engine. Multiple threads can cause database engine deadlocks for databases using T-SQL If masking jobs fail and a deadlock error exists on the database engine, then reduce the number of threads.
-
Nonconforming Data behavior
- Stop job on first occurrence - (optional) To abort a job on the first occurrence of non-conformant data. The default is for this checkbox to be clear.
Info
The job behavior depends on the settings specified in the Algorithm Settings page and on the individual algorithm pages that define how you view the presence of Nonconforming data. The setting on the Algorithm Settings page is global that can be overridden by the setting on the algorithm page for that algorithm. These settings declare if the presence of Nonconforming data is a failure, or a success for the job. If Mark job as Failed is selected as a result of the above settings then the job would be aborted on the first occurrence of nonconforming data. If Mark job as Succeeded is selected as a result of the above settings then the job will not be aborted.
-
Commit Size — (optional) The number of rows to process before issuing a commit to the database.
-
Feedback Size — (optional) The number of rows to process before writing a message to the logs. Set this parameter to the appropriate level of detail required for monitoring your job. For example, if you set this number significantly higher than the actual number of rows in a job, the progress for that job will only show 0 or 100%.
Info
Some built-in connectors support the Disable Constraints, Disable Triggers, and Drop Indexes features (see the Data Source Support page). For built-in connectors implemented using driver support plugins, these options are available via the Enable Tasks button. For a full list of built-in connectors using driver support plugins, see Built-in Driver Supports). For all other built-in connectors, these features will appear as checkboxes.
-
Disable Constraints — (optional) Whether to automatically disable database constraints. The default is for this checkbox to not be selected and therefore not perform automatic disabling of constraints. For more information about database constraints see Enabling and Disabling Database Constraints.
-
Disable Trigger — (optional) Whether to automatically disable database triggerss. The default is for this checkbox to not be selected and therefore not perform automatic disabling of triggers.
-
Drop Indexes — (optional) Whether to automatically drop indexes on columns which are being masked and automatically re-create the index when the masking job is completed. The default is for this checkbox to not be selected and therefore not perform automatic dropping of indexes.
-
Enable Tasks - (optional) When this button is pressed, it displays a form with checkboxes next to each task implemented by the driver support plugin being used. The default is for each checkbox to not be selected and therefore not perform any of the tasks. If the masking job being created is for a built-in connector with a builtin driver support plugin, the options displayed will be Disable Constraints, Disable Triggers and Drop Indexes. For a full list of supported built-in connectors and information on specific built-in driver support plugins, see Built-in Driver Supports.
-
Batch Update — (optional) Enable or disable whether the database load phase to output the masked data will be performed in batches or not. The size of the batches is determined by the Commit Size field value. This option is recommended because it typically improves the performance of the masking job.
-
Prescript — (optional) Specify the full pathname of a file that contains SQL statements to be run before the job starts, or click Browse to specify a file. If you are editing the job and a prescript file is already specified, you can click the Delete button to remove the file. (The Delete button only appears if a prescript file was already specified.) For information about creating your own prescript files.
-
Postscript — (optional) Specify the full pathname of a file that contains SQL statements to be run after the job finishes, or click Browse to specify a file. If you are editing the job and a postscript file is already specified, you can click the Delete button to remove the file. (The Delete button only appears if a postscript file was already specified.) For information about creating your own postscript files see Creating SQL Statements to Run Before and After Jobs
-
Comments — (optional) Add comments related to this masking job.
-
Email — (optional) Add e-mail address(es) to which to send status messages.
-
-
When you are finished, click Save.
Enabling and Disabling Database Constraints
Depending on the type of target database you are using, the Delphix Engine can automatically enable and disable database constraints.
The ability to enable and disable constraints ensures that the Delphix Engine can update columns that have primary key or foreign key relationships. You can set Delphix to handle constraints automatically by enabling the Disable Constraints checkbox on a Masking job. If the built-in or extended connector is using a driver support plugin, Disable Constraints can be enabled via Enable Tasks. For a full list of supported built-in connectors and information on specific builtin driver support plugins, see Built-in Driver Supports.
Note
Delphix does not support the enable/disable constraints feature for all databases. To see which databases are supported, see the Data Source Support page.
Creating SQL Statements to Run Before and After Jobs
When you create a masking job or a certification job, you can specify standard, static SQL statements to run before (prescript) you run a job and/or after (postscript) the job has completed. For example, if you want to mask a column that has a foreign key constraint to another table, you could use a prescript to disable the constraint and a postscript to re-enable the constraint.
You create prescripts and postscripts by creating a text document with the SQL statement(s) to execute. If the text file contains more than one SQL statement, each statement must be separated by a semicolon [;]. For example to remove records with date_column before December 12th, 2017 before masking a table (owner.table), one would create a prescript file containing the following and associate the prescript file to the masking job that includes the table in its ruleset:
DELETE FROM owner.table WHERE date_column < ‘20171207’;
Database-specific, SQL programming extensions (such as PL/SQL and Transact-SQL) and dynamic SQL statements are not supported in prescripts and postscripts. However, you can create procedures and functions using your database tooling of choice and call them using standard SQL statements from a prescript or postscript.